DIY: Cake Stand Dome

DIY Cake Stand Dome { Be What We Love blog }

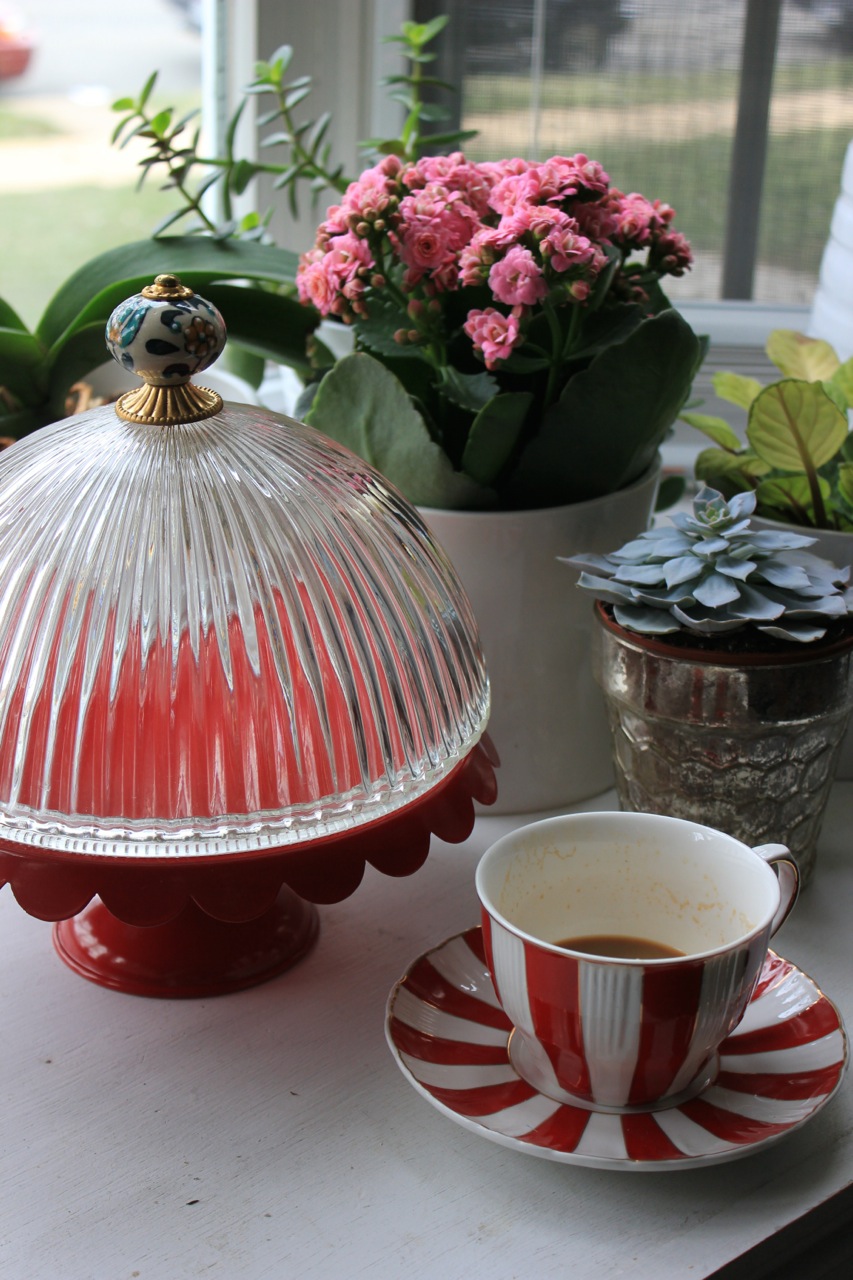
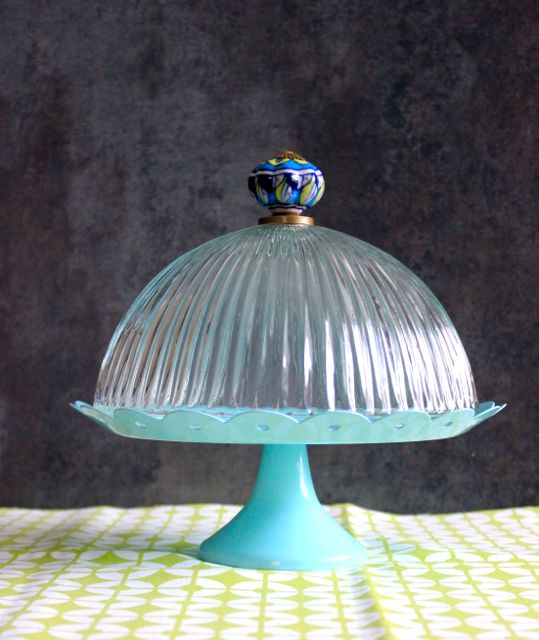
I just got back from Arizona where I loved seeing all the beautiful cacti and succulents everywhere and especially the gorgeous and creative succulent terrariums my sister-in-law made in various containers. I was in a mission to drive to one of our favorite places, ReStore (a Habitat for Humanity home supply recycling store and donation site) to grab a light pendant to transform in a beautiful terrarium (I’ll write another post and tutorial about that next week). In the lighting area, I found a pile of these light fixture covers and I couldn’t resist grabbing a few to transform them in beautiful domes for my cake stand collection. Don’t these give the most wonderful vintage flair to cake stands?
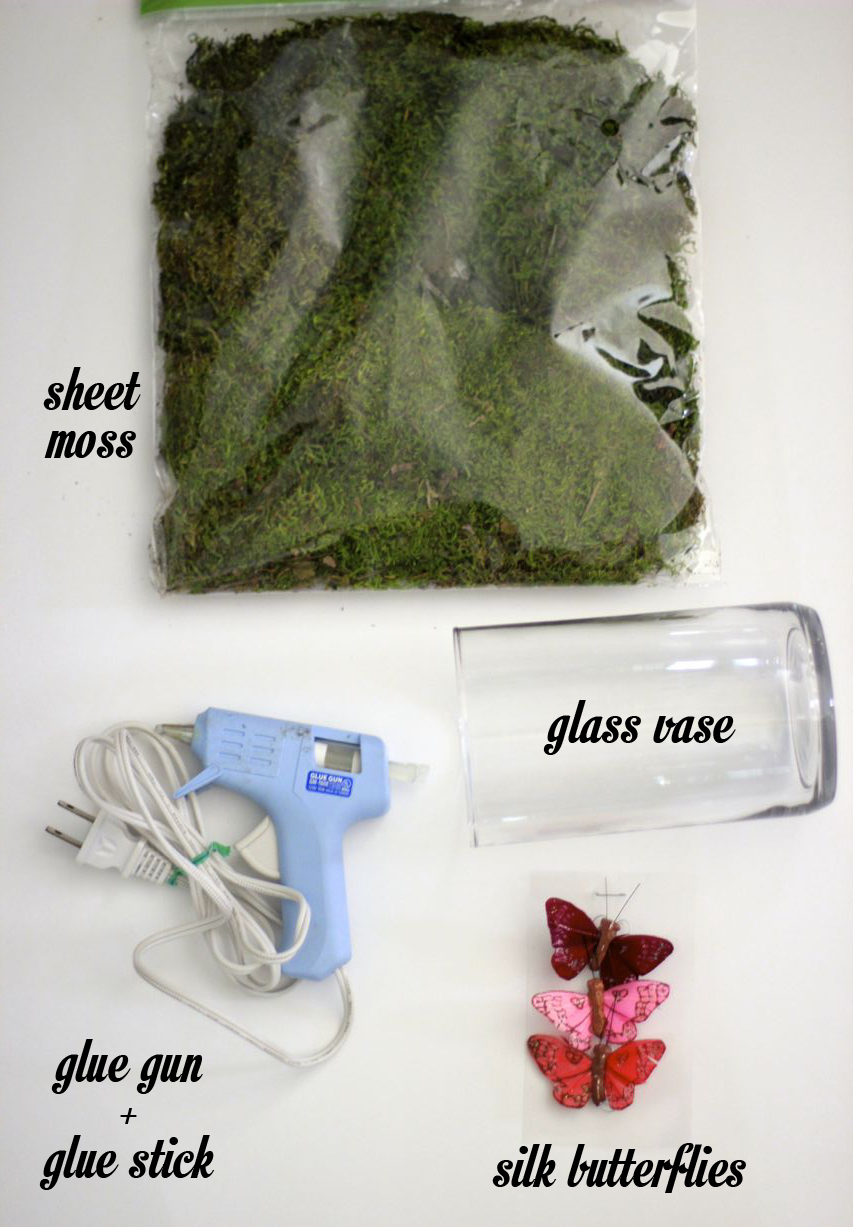
You’ll need:
  • Light fixture covers – only $2 a piece at my local ReStore
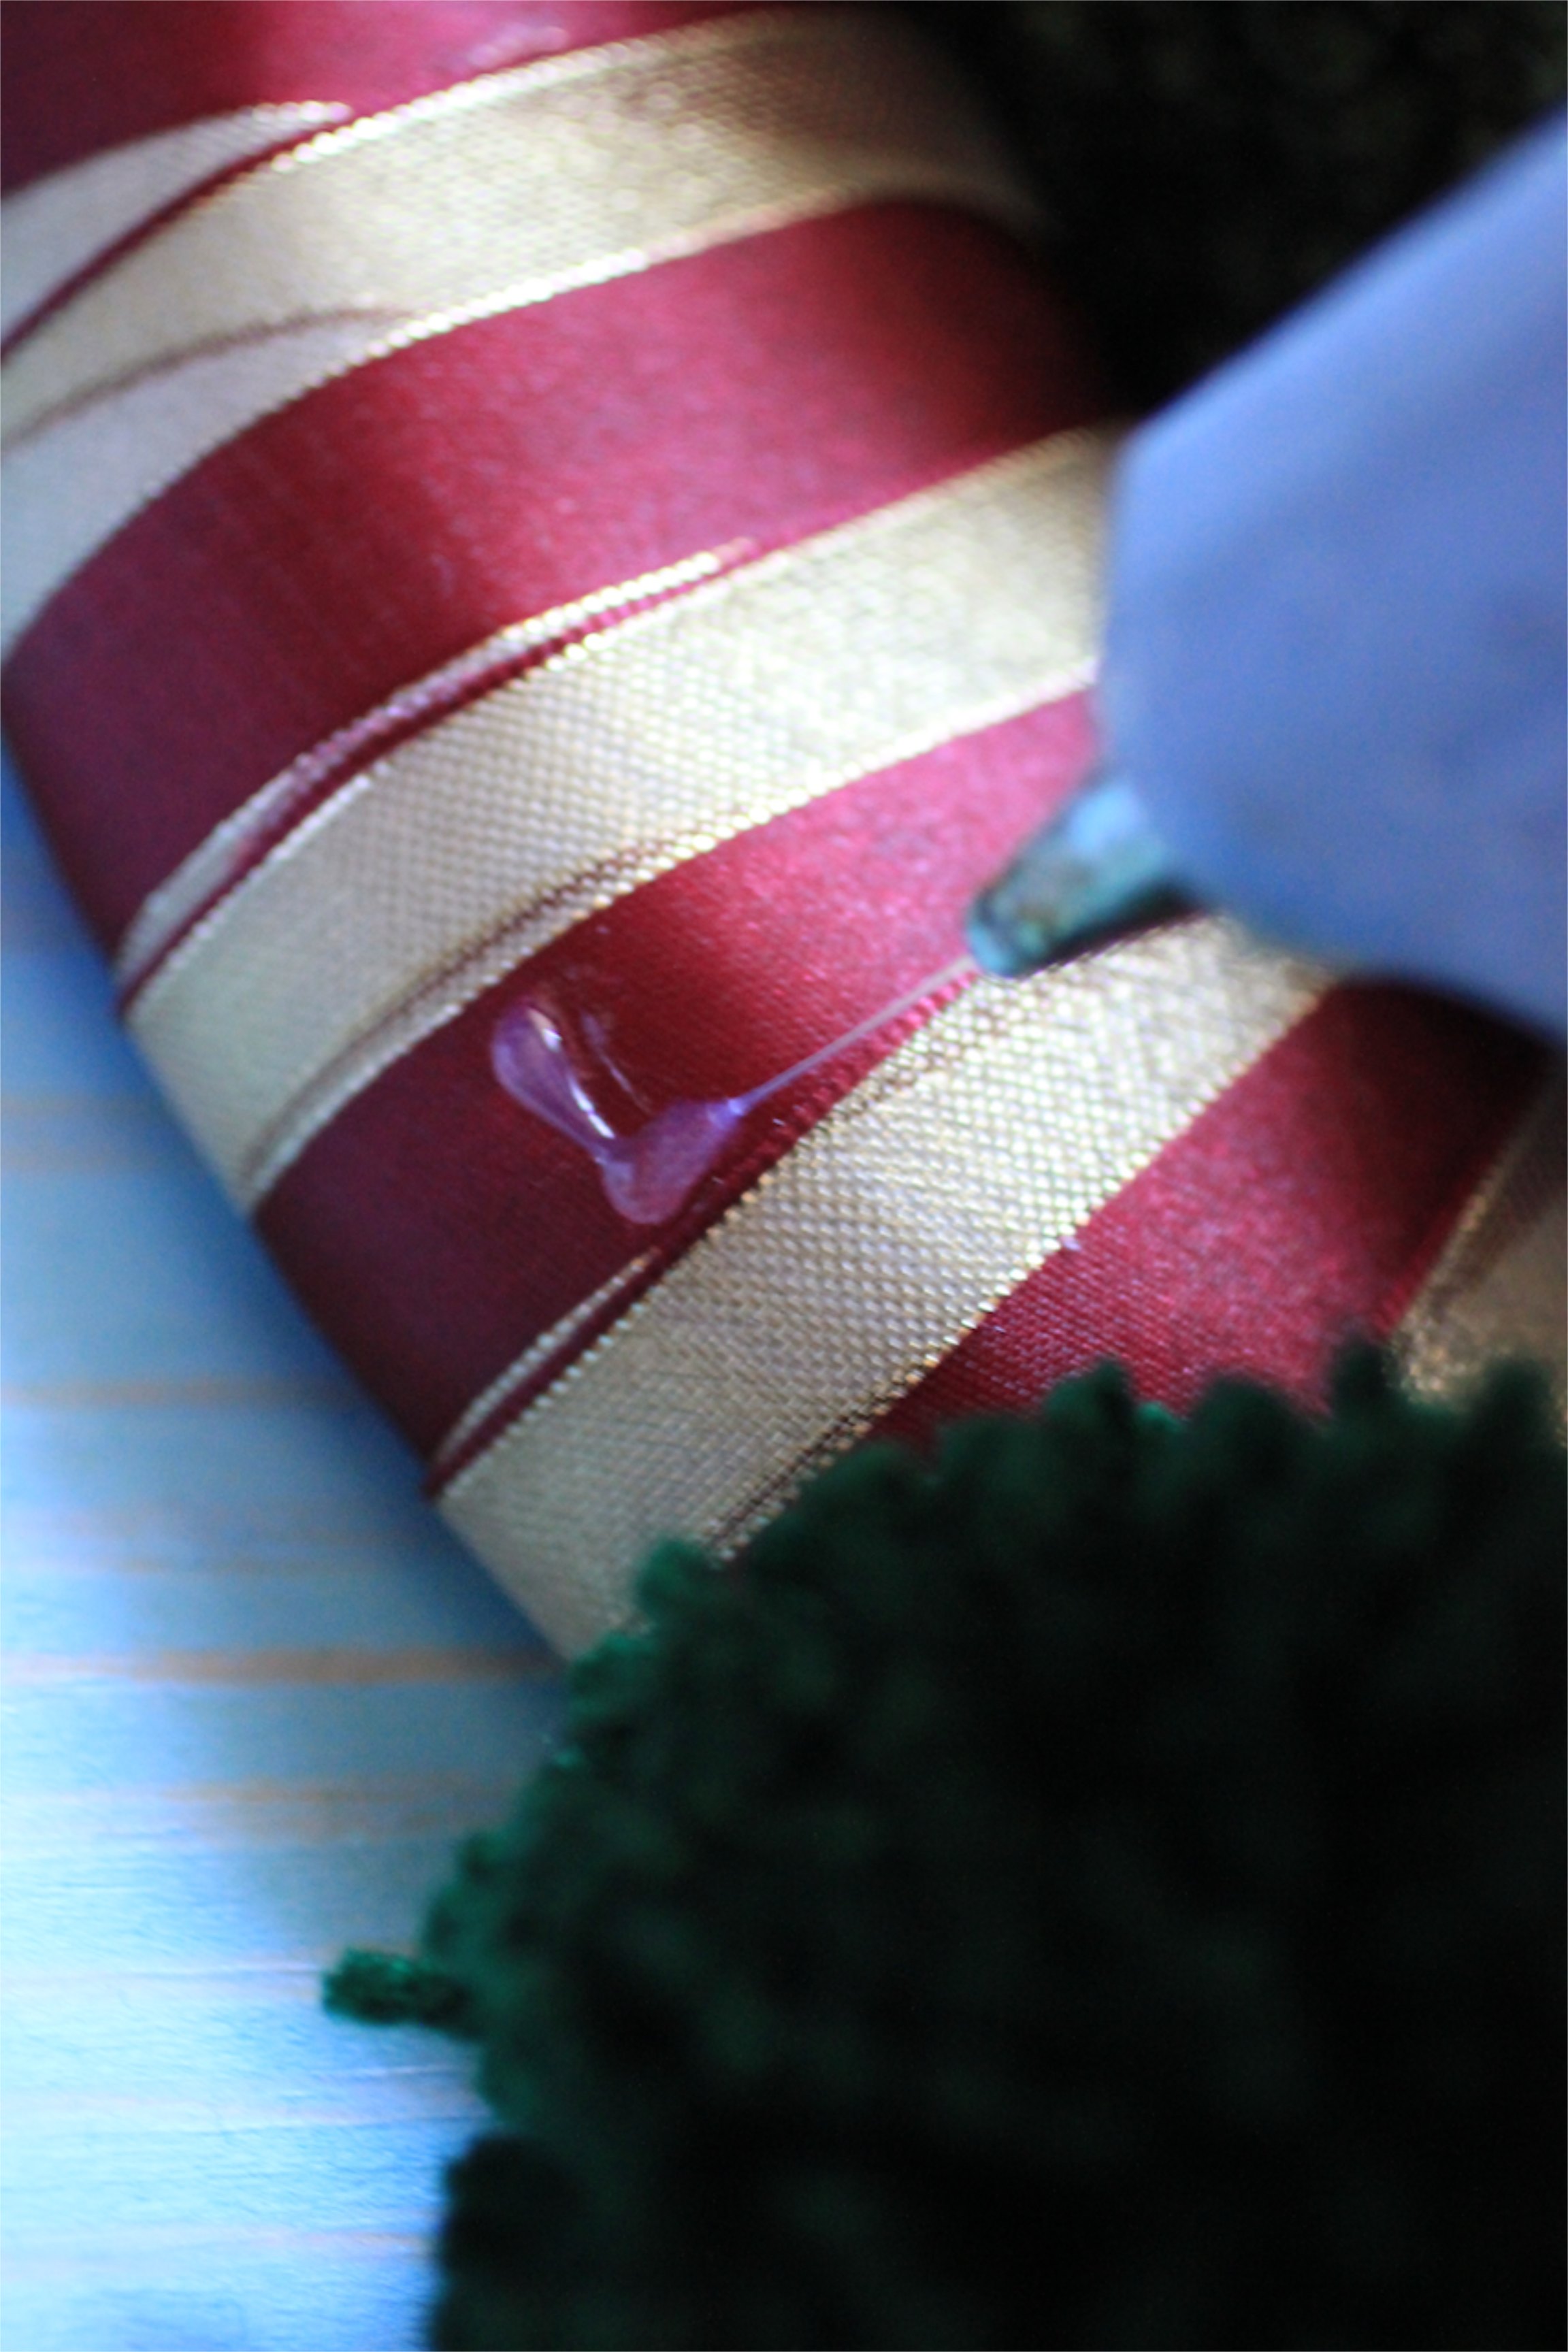
  • Knobs from Anthropologie, World Market or Hardware store – cost between $3 to $6  each.
  • Fender Washer 1/4″ x 1-1/4″ – costs $0.12 at my local home improvement store.

Total cost : +/- $6 each dome

DIY Cake Stand Dome { Be What We Love blog }DIY Cake Stand Dome { Be What We Love blog }

DIY Cake Stand Dome { Be What We Love blog }

DIY Cake Stand Dome { Be What We Love blog }
IMG_1831 IMG_1835 IMG_1844DIY Cake Stand Dome { Be What We Love blog }


Pom Pom Wreath

Pom Pom Wreath { Be What We Love}Every other year I try to make a new wreath for our house. Do you remember our Yarn Wreath Tutorial from last year? Well, still having some yarn leftover, I decided to create a wreath full of pom-poms. You can find various online tutorials on how to make yarn pom-poms, my favorite tutorial is from the Craft, Interrupted blog. I used clover pom-pom maker, which are super easy to use and comes in 4 sizes.

You’ll need:

  • 10″ or 12″ styrofoam wreath
  • 35-40 pom-poms (I made smaller ones to fill any gap)
  • glue gun
  • 2 glue sticks

Directions:

Start glueing the pom-poms from inside, arrange the pom poms closely together, filling in your entire wreath form.

Optional:  ribbon to wrap the wreath and bow ribbon to hang or embellish your pom-pom wreath. I just thought wrapping around before glueing the pom pom would give a better finish in the back, and make sure there are no blank white spaces.  But it’s not required. 😉

Pom Pom Wreath { Be What We Love}

Pom Pom Wreath { Be What We Love}IMG_8943IMG_8938Pom Pom Wreath { Be What We Love}Pom Pom Wreath { Be What We Love}Pom Pom Wreath { Be What We Love}Pom Pom Wreath { Be What We Love}

DIY: Enchanted Forest Cake Stand

Enchanted Forest Cake Stand

Last week we had my parents visiting us and I couldn’t pass up on the chance to ask my super creative dad to colaborate with me in a DIY project for the blog.  I found a great set of wood plates, and I always use them for picnics, but had an extra one ready to be used for something fun, so we came out with this idea while walking around our local craft store.

I love how whimsical this cake stand looks, and would look great at a kid’s woodland theme party or baby shower.

Enchanted Forest Cake Stand - supplies

Enchanted Forest Cake Stand

My dad’s chalk lettering skills came in handy for this photoshoot.

Enchanted Forest Cake Stand

Enchanted Forest Cake StandEnchanted Forest Cake Stand Enchanted Forest Cake Stand TutorialEnchanted Forest Cake Stand Tutorial

DIY Candy Dish

My obsession with dishes has already been well documented on this site. I grew up seeing my parents amazing collection, I’ve found some fun ways to use glass containers at my home parties, and I even have done a DIY on repurposing glass bottles.  So naturally, when I was at the Dollar Tree looking for a few party supplies and came across some great glass items I saw another DIY opportunity.  I couldn’t be happier with the results from this $2 project. I happened to already have a good glass specific glue. If you don’t have one on-hand already, you can pick one up while you’re there, for the low price of (you guessed it) $1, bringing the grand total to $3.

candy2

candydishcandy5

DIY Chalkboard Tray

IMG_0619

tray6

A couple weeks ago, I drove by my favorite craft store, Hobby Lobby, and let me tell you, that place is so amazing that it makes every 25 miles trip to their closest store from my home worth it. I went inside to get a few things for a future DIY project, and could not pass up these beautiful gingham handles. Immediately I thought they would look great on a tray and why not a chalkboard tray.

tray4

  • If needed, sand off any rough areas and wipe it clean for smooth surface.
  • Apply 2 layers of chalkboard paint and let it dry for three hours.

IMG_0472

tray2tray